- Homeowners
- Professionals
- Products
- Back
- PlasterBoards
- Metal Framing & Accessories
- Jointing and Finishing
- Gypsum Plasters
- Ceiling Tiles
By material Type
By Category
- Resources
- About
- Careers
- FAQ's
Jointing and finishing is the process through which gypsum Boards systems are transformed into smooth, structurally sound walls and ceilings. This process eventually determines the look of the interiors.
JOINTING AND FINISHING PRODUCTS
LEVELS OF JOINTING AND FINISHING
Traditionally, the quality of a surface has been judged subjectively, with the use of phrases such as “ready-for-painting”, “ready-for-covering” and so on. However, these are not suitable for describing the level of finish. A “finished” and “ready-for-painting” surface for one person may be a sub-standard one for another.
The quality of finish of gypsum board is defined by the Euro Gypsum standards (based on EN 13963). The level of finish is affected by the dimensional tolerances of boards, metal framings and level of workmanship. The flatness of the Drywall and Ceiling also impact the level of finish.
Local Flatness
Standards
A ruler of 200 mm applied on the cladding of the drywall, particularly at the joints, must not have a difference bigger than 1 mm between the most salient point and the point furthest away.
General Flatness
Standards
A ruler of 2000 mm length applied to the face of the drywall and moved in all directions must not have a difference bigger than 4 mm between the most salient point and the point furthest away.
Stages Of Jointing And Finishing
Shallow light (natural or artificial) can affect the appearance of the surface. Ideally, lighting conditions where the board systems are used should be known in advance. The surface quality should not be judged by flood-lighting, and the limits of manual workmanship should be considered.


Q2 + a skimming coat of Gyproc Champion Skimming Putty (>1mm) over entire board surface
Know More
Jointing And Finishing Process
Surface Preparation
Ensure that all fixings, screws or nails, are seated below the surface of the gypsum Boards
Remove any dust or loose material from the Gypsum board
Mixing
Mix Gyproc Easi-Fill®/Pro-Fill®/Pro-Top® with the clean water in the ratio of 2:1 to make a uniform paste. Continue the mixing for 10 – 15 minutes to form a homogeneous mix.
Ensure that no unmixed powder / lumps remain in the mixed material.
Jointing And Finishing Process Steps
Surface Preparation removes dust from the gypsum board and sets the fixings & screws
below the surface. The homogeneous mixture of Gyproc Easi-Fill®/Pro-Fill®/Pro-Top® with clean
water ensures that no unmixed powder/lumps remain in the mixed material.

step 1
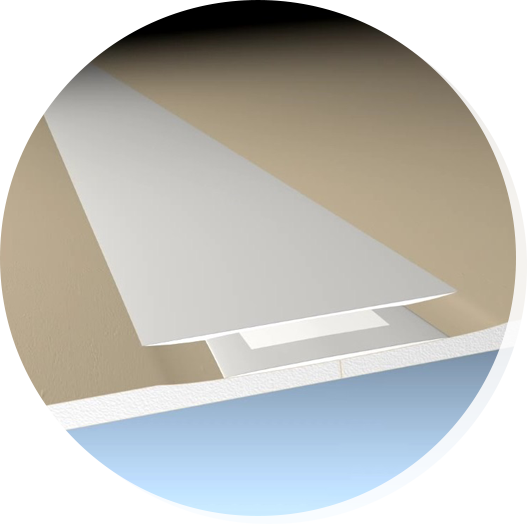
After framing and boarding the surface is ready for jointing and finishing

step 2
Prefill the joint with Jointing Compound

step 4
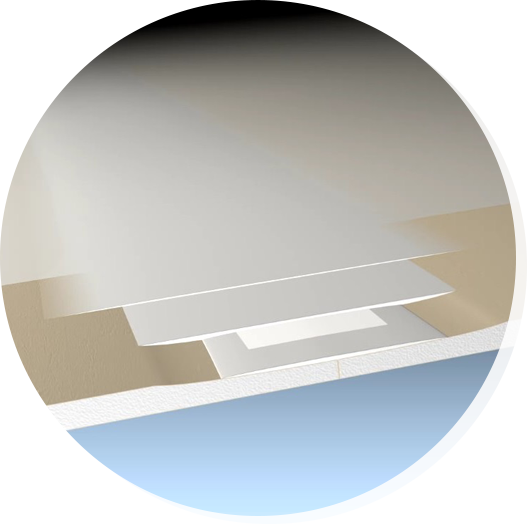
Allow the first coat to dry then apply the second coat

step 5
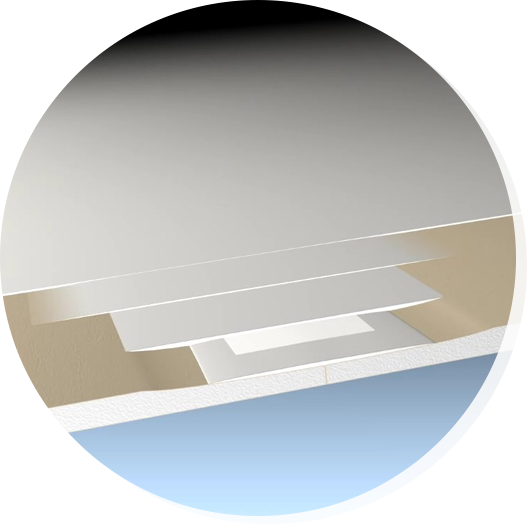
Allow the second coat to dry then apply the third coat

step 6
Sand joints after jointing compound dries

step 7
Surface is ready after jointing and finishing for final surface finishing
Jointing compound are gypsum based powder (or premix) material used to finish Gypsum Board Joints, corner bead, trim, gaps. It is available in powder & premix form.
There are 2 Types of Jointing Compound
Gyproc Pro-Top Ready-Mix is all purpose Jointing Compound, which can be used for Jointing & Finishing of Gypsum Board Joints. It is ready-to –use product, with higher crack resistant properties, which can be used on all types of Gypsum Boards.
Easi-Fill Hydro is a gypsum based powdered jointing compound with a setting time of 90* minutes. Easi-Fill Hydro is a moisture resistant jointing compound with reduced Water Absorption designed for quick jointing & finishing of Glasroc H & Moisture Resistant Board. Easi-Fill Hydro is recommended for wet area jointing & finishing.
Surface Preparation:
Mixing:
There three stages in Jointing & Finishing of Gypsum Board.
First Coat
Second Coat
Third Coat
When jointing two cut edges or sheet ends, which are not recessed, care needs to be taken to ensure the surface build-up of jointing material is minimized. The same basic procedure for tapered edges joints are to be followed as required for the tapered edge method. Take extra care when bedding in the tape to ensure that sufficient jointing material remains behind the tape. The absence of a recess can often lead to the entire jointing material being forced out from behind the tape.